Scone Loft / Card box / Why scones don't rise
FixWhy didn't my scones rise?
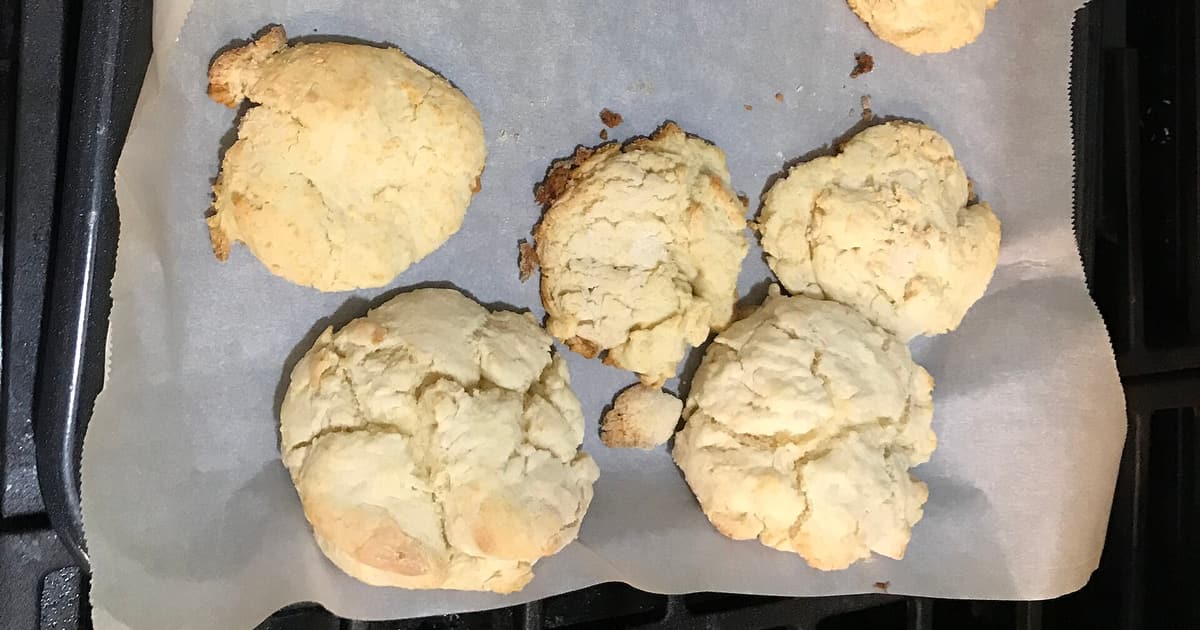

Most flat scones come down to a few things: the dough was too thin or too wet, the butter was too warm, the dough was handled too much, or the cutter was twisted. Stale baking powder and an oven that was not fully hot are the next suspects. The shape of the failed batch usually tells you which.
Scones rise in two ways at once. Baking powder makes carbon dioxide, as the Royal Society of Chemistry describes, with most of the push reserved for the oven. And chilled butter, according to Chowhound's guide, gives off steam when it hits the heat. Anything that lets gas escape or melts the fat early will cost you height. So start with the batch in front of you.
They spread into wide, flat discs
Scones that go outward rather than upward have a dough problem, or a heat problem, and sometimes both.
- Dough too wet. Baking Kneads names this as the usual reason for scones failing to rise. A soft, slightly tacky dough is right; one that slumps as you tip it out is too far. Next time, keep back the last spoonful of milk until you see how the flour behaves.
- Butter too warm. Soft fat runs before the structure has set. Cube it cold, and on a hot day put the shaped scones in the fridge or freezer while the oven heats. Chowhound's contributors go as far as freezing butter overnight and chilling the bowl.
- Oven not ready. A scone that sits in a lukewarm oven melts before it rises. Give the oven its full preheating time, and avoid opening the door during the bake.
- Tray too cold. BBC Good Food's recipe bakes on a tray that has been heated in the oven, to start the rise from underneath. It is a small habit that makes a noticeable difference.
They rose, but lopsided
This is the classic twisted-cutter scone. Baking Kneads says to push down and lift in one quick motion, without twisting, since twisting leaves uneven edges that stop the scone rising fully. The sketch shows the idea.
Other causes of a lean include a cutter gone blunt, which drags the edge rather than cutting it, and a tray that tilts in the oven. Smooth-edged cutters cut more cleanly than fluted ones, according to BBC Good Food. Also check that you have cut from a round of even thickness: if you patted one side thinner, that side will rise less.
They are short and squat, but neat
If the scones look tidy and simply did not get tall, the dough was probably too thin to begin with. BBC Good Food's advice is to pat the dough out thicker than you think you should, and Baking Kneads suggests about an inch. A 1.5cm round was never going to make a tall scone. Aim for 3cm or more, as in our plain scone recipe.
Too little raising agent looks much the same. If you made your own self-raising mix, check the rate on our flour conversion card.
They rose a little and feel heavy inside
A tight, bready scone has usually been worked too hard. BBC Good Food compares scones to a sweet soda bread that goes tough when over-handled, and Chowhound's pastry instructor makes the same case in terms of gluten: it develops once the flour meets liquid, so the time to stop mixing is as soon as the dough comes together.
So use a table knife rather than your hands to bring it together, give it two or three folds at most, pat rather than roll, and be gentle with the re-rolled trimmings. The last scone from the trimmings is always the worst of the batch. That is normal, and it is the baker's scone anyway.
They taste soapy, metallic or bitter
That points to raising agent, not technique. Too much baking powder, or a lump of it that never mixed in, is the first thing to look at. If you used bicarbonate of soda without enough acid, the Royal Society of Chemistry notes that it leaves sodium carbonate behind, which has an unpleasant alkaline taste. Level your spoons, and sift the dry ingredients together.
Pale on top, raw in the middle
Scones want a hot, quick bake, so a low temperature gives you a pale outside and a doughy middle. Check the oven setting first, and remember that many ovens run a little hot or cold against the dial. An inexpensive oven thermometer answers that for good. If the tops brown before the centres are done, the shelf may be too high or the scones too thick for their width; drop a shelf or reduce the temperature slightly.
All of the above seem fine
Then check the raising agent. The Royal Society of Chemistry notes that baking powder loses its power with time in the kitchen. Put half a teaspoon in hot water, and if it barely fizzes, replace it. The same goes for an old bag of self-raising flour, since it contains the same chemistry. Check the date on the bag.

A short list for the next batch
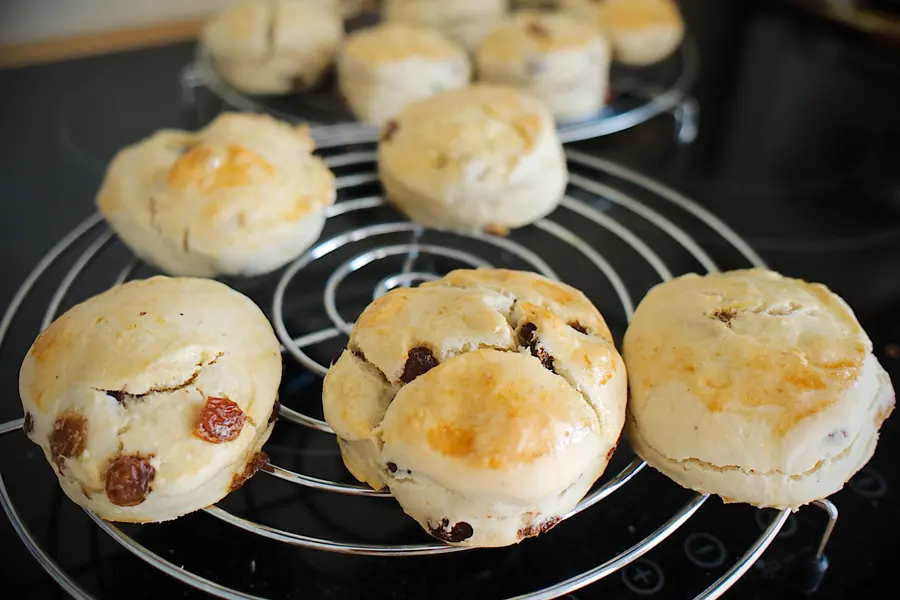
- Cold butter, cold milk, and a fully heated oven and tray.
- Mix with a knife and stop early.
- Pat out to 3cm, and do not use a rolling pin.
- Press the cutter straight down and lift straight up.
- Get them into the oven straight away. Baking powder starts working as soon as it is wet.
Change one thing at a time if you are chasing a stubborn fault. The same discipline helps with a sponge that sinks. And once they are rising, the next question is what to put on them first.
Sources opened for this card
- Royal Society of Chemistry, Kitchen Chemistry: the chemistry of baking powder (PDF)
- Chowhound: 14 tips for baking better scones
- Baking Kneads: why do my scones spread?
- BBC Good Food: classic scones with jam and clotted cream
Links checked November 2026. General information only; follow official food safety advice for your household.